Each blog will be about something I'm trying in my classroom. If it's an idea I got from Pinterest, I will tell you (I'm not here to steal other people's sunshine!) and try to post a link to their page. I will also post pictures, links, and documents for you to use in your classroom. Please feel free to ask any questions for clarification!
OK - so for my first blog I wanted to share something to help organize your desk. Yes... your desk! If your desk is anything like mine, it's a disaster. Pens, paper clips, post-its, tape... you name it... it's on my desk. As 'organized' as I like to say it is, it's a mess. I came across this post on Pinterest, and decided to change it to fit my classroom design. Make this teacher toolbox for your classroom, and I guarantee your desk will be in ship-shape! And, best of all, you'll actually be able to find things!
Teacher Toolbox
Materials:
- 2 different color papers or cardstock to match the theme of your room (my room is mainly pink and green, I got colored printer paper from Hobby Lobby)
- embellishments (I used zebra stripes to match my room)
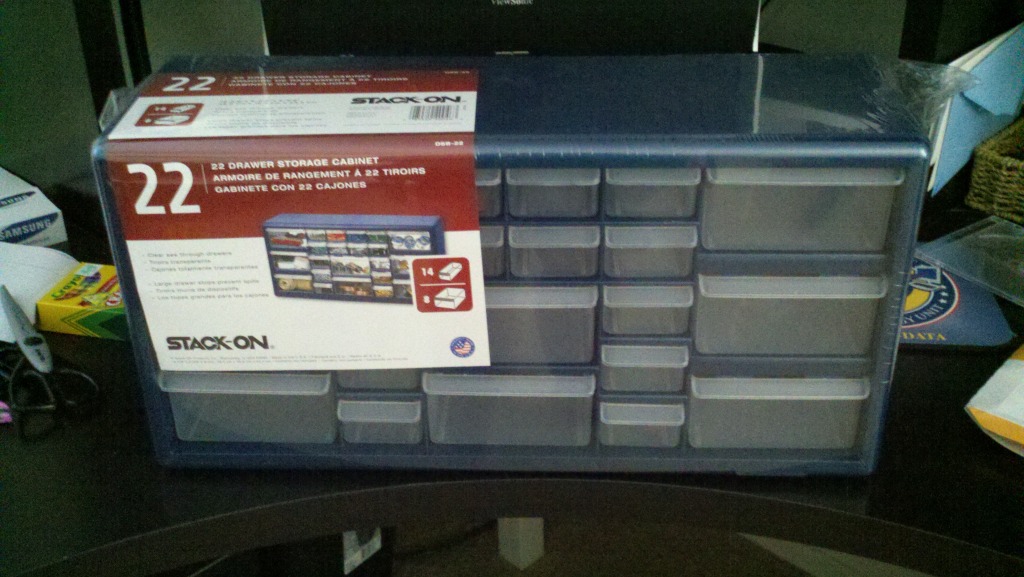
- 14 labels (H1.38" x W2.00")
- 8 labels (H2.12" x W4.25")
- scotch tape
- Storage Cabinet from Lowe's
Time:
- 30 min (unless you want to make your own labels)
Directions:
1. Print out your labels on your colored paper or cardstock (feel free to download the premade labels here)
2. Cut out labels
3. Use scotch tape to tape labels inside drawers
Before:
After:

No comments:
Post a Comment